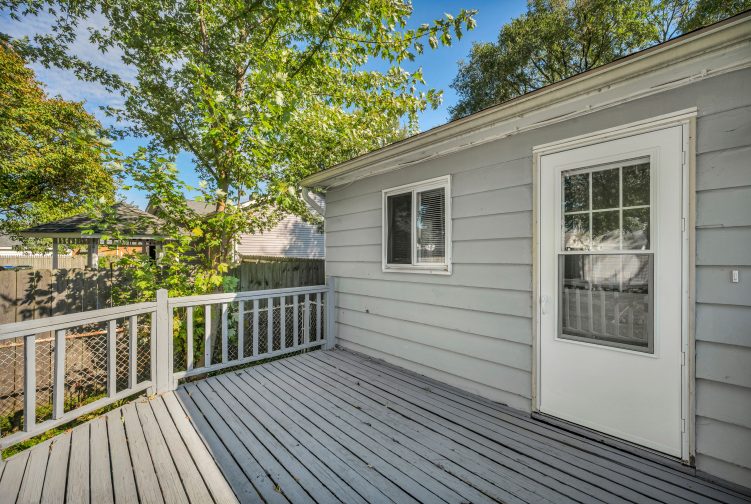
A deck renovation looks simple from the outside. Replace a few boards, add a fresh coat of stain, and the structure should last another decade. In practice, many of the problems that show up after a refresh were hidden from the start. Most of them come from a handful of repeat mistakes that are easy to avoid once you know what to look for.
This guide walks through the most common errors, explains why each one causes trouble, and gives practical steps to prevent them. Whether you are repairing a single section or restoring an entire decking system, the same basic principles apply.
Skipping a Full Inspection Before Starting
The most frequent mistake is treating the visible damage as the whole problem. A cracked board may be the only thing you can see, but the joist beneath it could be soft too. Before you touch anything, walk the entire structure and check the posts, ledger, stairs, railings, and fasteners.
A screwdriver is a useful test tool. Press it into any wood that looks suspicious. If the tip sinks in easily, the wood is likely rotten. Look for rust streaks, split ends, and dark stains where water tends to sit. Ground-contact posts and areas near downspouts or sprinkler heads deserve extra attention.
Covering Rot Instead of Removing It
Filler, paint, and fresh stain can hide rot for a season, but they do not stop it. Water keeps getting trapped under the surface, and the damage spreads. A proper repair follows a clear sequence:
- Mark every damaged area and probe beyond the visible edge
- Cut out rotten wood completely, not just the top layer
- Replace it with lumber rated for outdoor use
- Address the moisture source, such as a leaking gutter or poor flashing
- Seal exposed wood only after the repair is dry and sound
Skipping the moisture source is the reason many repairs fail within a year or two. If the water keeps coming, the new boards will age the same way the old ones did.
Using the Wrong Fasteners and Hardware
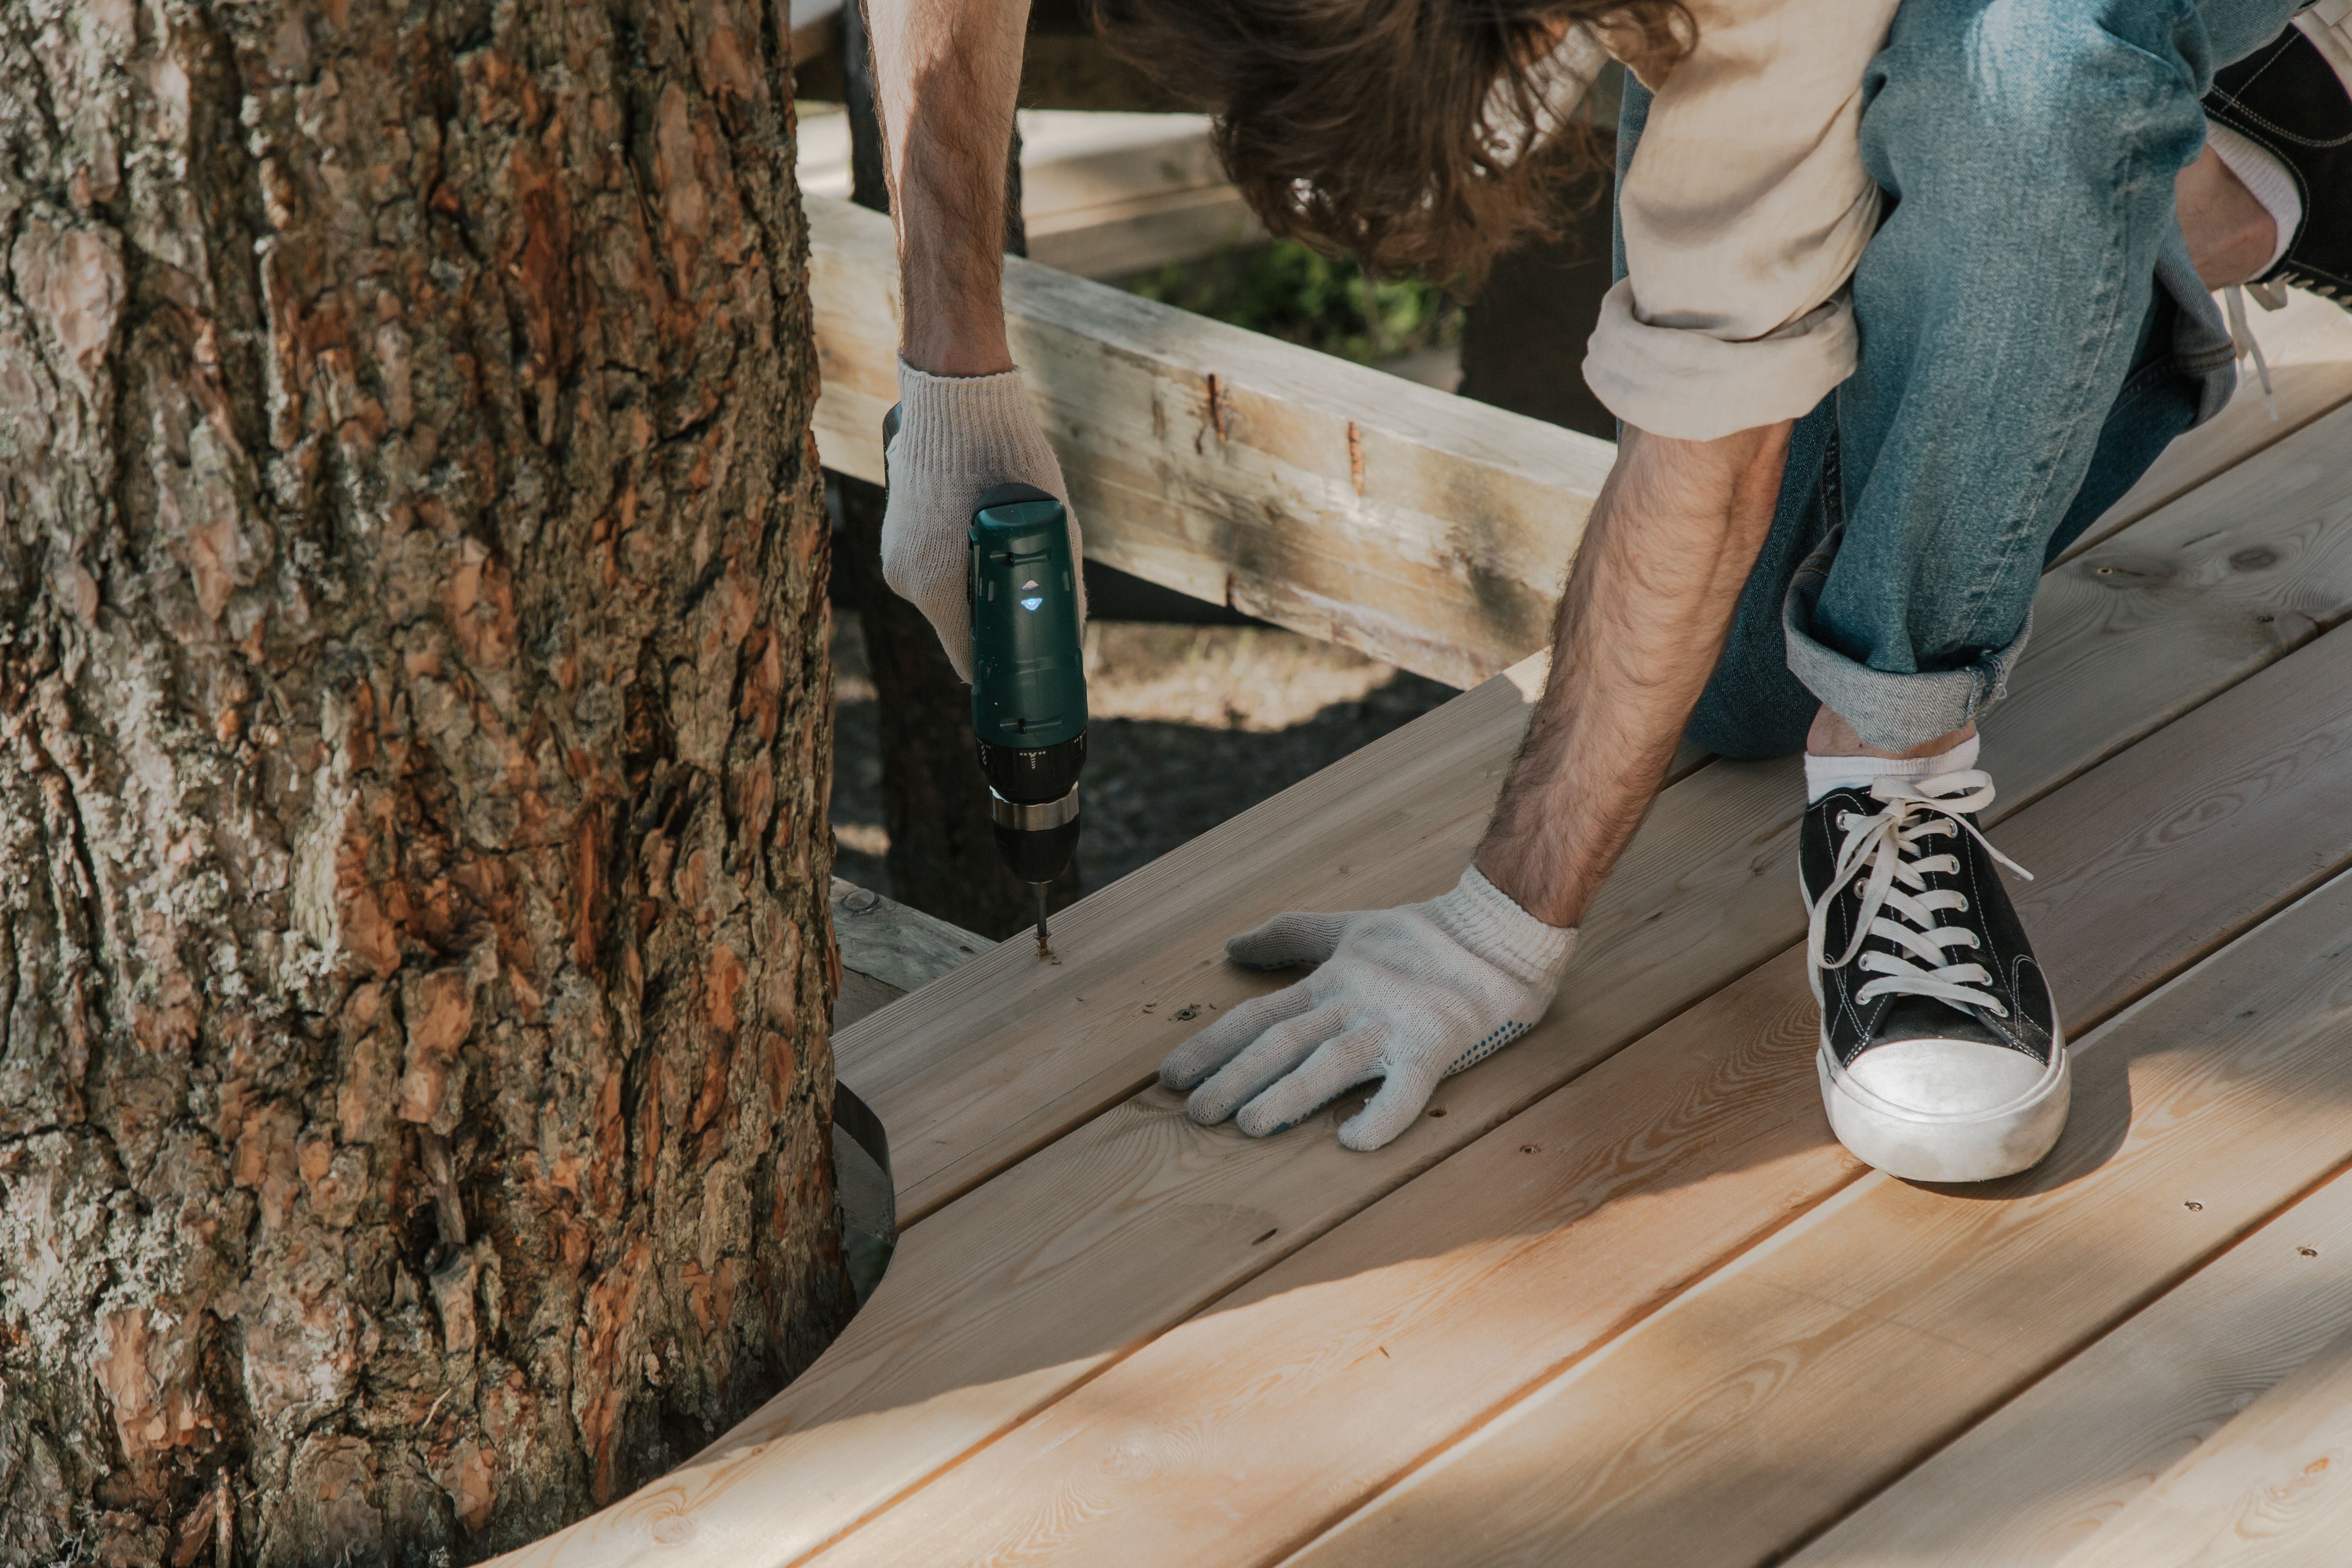
Indoor screws and bargain nails are a common shortcut, and they corrode quickly outdoors. Modern pressure-treated lumber is also harsher on metal than older treatments, so the fasteners need to be rated for it. Reusing old screws or nails that are already bent or rusted is another mistake worth avoiding.
For structural connections, the rules are stricter. The Deck Connection and Fastening Guide from Simpson Strong-Tie walks through connection types for ledgers, joists, beams, and posts, and it is a useful reference when you are checking whether existing hardware is adequate. Use hot-dipped galvanized or stainless fasteners for structural work, and remember that through-bolts and lag screws are preferred over nails for load-bearing connections.
Getting the Ledger Connection Wrong
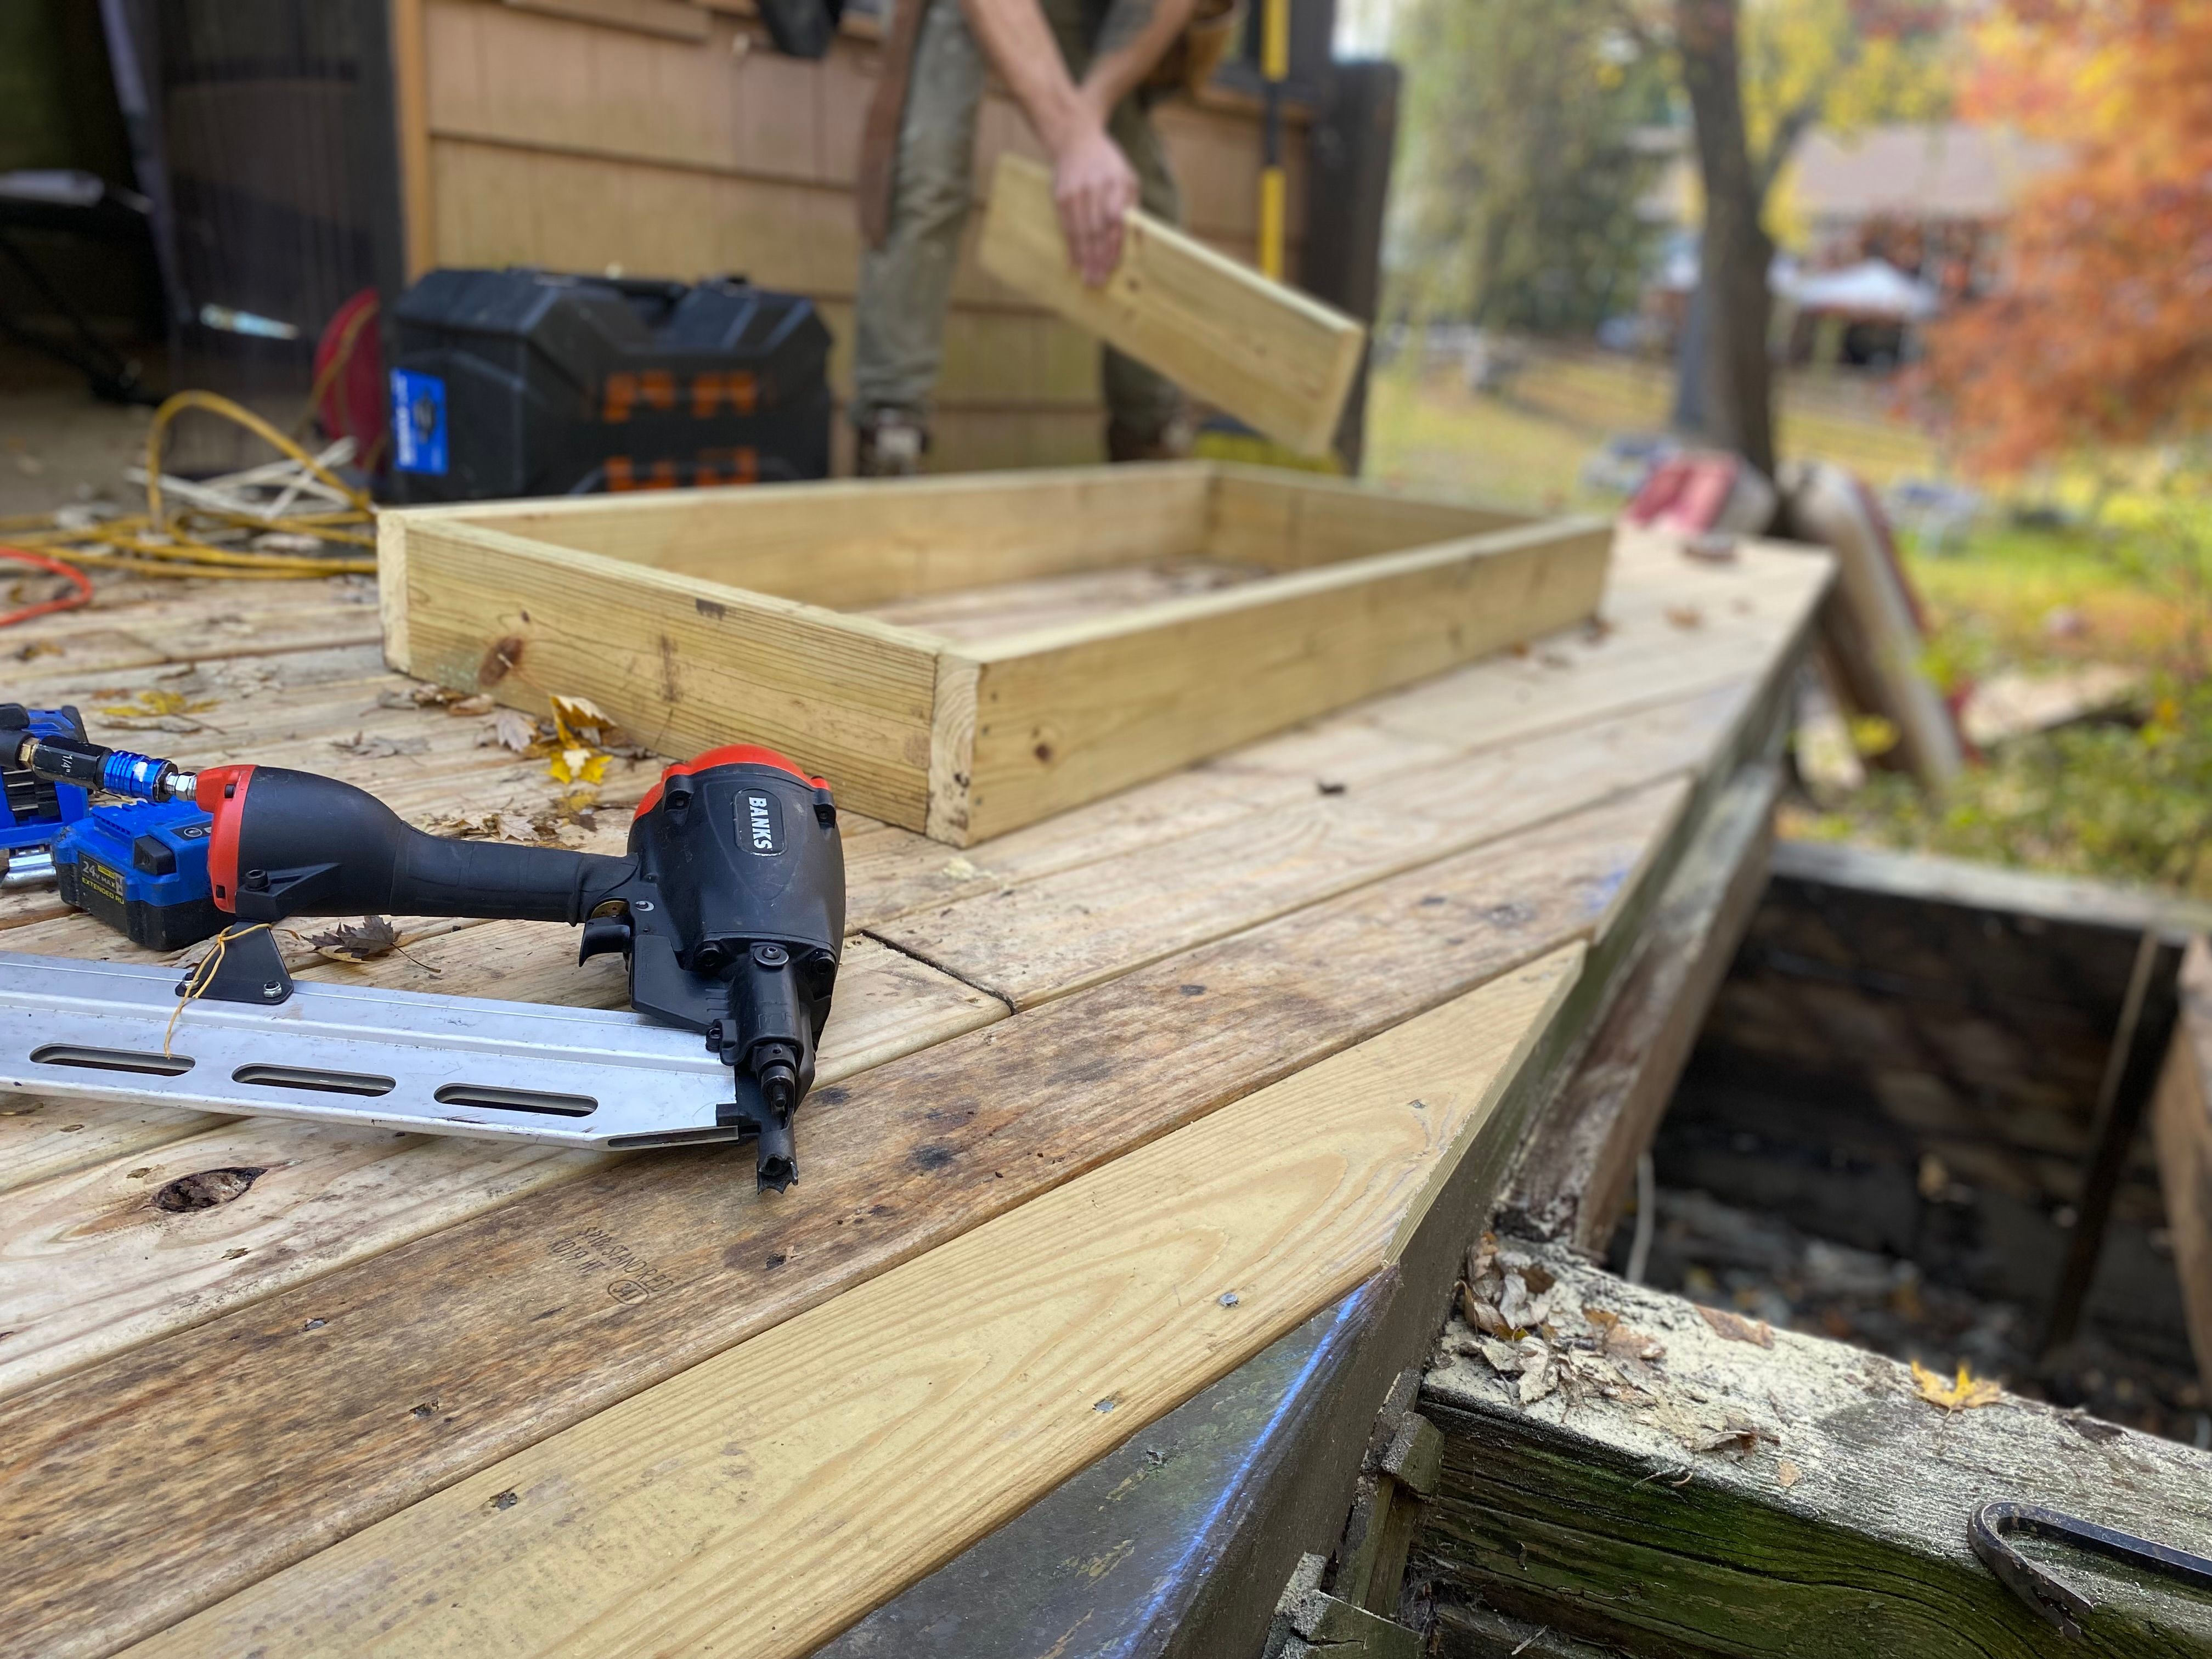
The ledger, the board that attaches the deck to the house, carries a large share of the load. It is also the area where renovations most often go wrong. According to the ICC Building Safety Journal, a major cause of deck collapses has been ledgers attached with nails rather than properly installed bolts or lag screws.
When you inspect an existing ledger, check for these problems:
- Nail heads only, with no bolts or lag screws visible
- Too few fasteners, or fasteners spaced too far apart
- No flashing or waterproofing behind the ledger
- Attachment through brick, stone, or other veneer rather than to structural framing
Local codes vary, so check your permit requirements before making structural changes. The table below summarizes the most common errors and how to correct them.
Ignoring Board Spacing and Drainage

Tightly packed boards look neat on day one, but they trap water. Wood needs room to move as it dries and swells, and the gaps let water run off instead of sitting on the surface and along the edges. Inspectapedia notes that a gap of roughly 1/8 inch is a common target once boards reach their equilibrium moisture content. If you install boards while they are still wet, it is generally better to set them tight and let gaps open as they dry.
Other spacing issues to watch for include:
- Boards that were nailed too close together during a previous repair
- Edge boards that were cut without allowing for drainage
- Uneven gaps that trap debris and hold moisture
Sealing at the Wrong Time
Sealing is one of the most important steps in extending a deck’s life, and also one of the easiest to get wrong. New lumber often needs time to dry before it can absorb a sealer. A simple check is to sprinkle water on the surface. If it beads up, the wood is still too wet. If it soaks in, it is ready.
Timing and preparation matter just as much as the product itself:
- Let new decks dry for about 30 days before sealing, and confirm with the water test
- Wait for the surface to dry after rain, and avoid damp or frosty conditions
- Sand or clean old stain thoroughly, since remaining coatings block absorption
- Stir sealers rather than shaking them, to avoid bubbles on the surface
- Keep foot traffic off the deck until the sealer has fully cured
Sealer and stain also need to be compatible with what is already on the deck. Mixing oil-based and latex products can cause peeling, so check the label before applying.
Overlooking Railings and Stairs
It is easy to focus on the flooring because it is the most visible part of the project. But railings and stairs are where safety problems tend to hide. A railing that moves when you push on it, or a stair tread that feels loose, is a serious hazard even if the boards look fine.
During any renovation, check these items:
- Guardrail posts for movement and secure attachment
- Stair stringers and treads for loose or cracked connections
- Fasteners on railings for corrosion, and tighten or replace as needed
- Post bases for rot, especially where they meet concrete or soil
Testing connections by hand and by sight is a good start. A professional inspection is worth the cost for elevated decks, since the consequences of a failure are far greater.
Frequently Asked Questions
How do I know if my deck needs repair or full replacement?
If rot is limited to a few boards and the structural framing is sound, targeted repairs are usually enough. If the joists, ledger, or posts are soft or failing, replacement is often the safer and more economical choice.
How often should a deck be sealed?
Many wood decks benefit from sealing every one to three years, depending on exposure, climate, and the product used. Check for water beading as a guide: when water stops beading and soaks in, it is time to reseal.
Can I renovate a deck without a permit?
Requirements depend on your location and the scope of work. Cosmetic repairs often do not need a permit, but structural changes, new ledgers, or added height typically do. Check with your local building department before starting.
Renovating a deck well comes down to patience at the start. A thorough inspection, proper removal of damaged wood, the right hardware, and careful sealing will do more for the final result than any single finishing touch. Take the time to get the structure right, and the surface will hold up far longer.